To provide the best possible service and resolve your issue efficiently,
a support technician may need to view your computer screen exactly as you
see it. If needed, our support staff will ask you to click the Remote
Assistance button to launch the remote viewer and will guide you step by
step through the simple process of connecting.
You can edit an image within WordPress easily by following the steps below. Not all website editors have access to Photoshop or Adobe InDesign, which is why WordPress comes with an image editor.
Here is where to edit an image within WordPress:
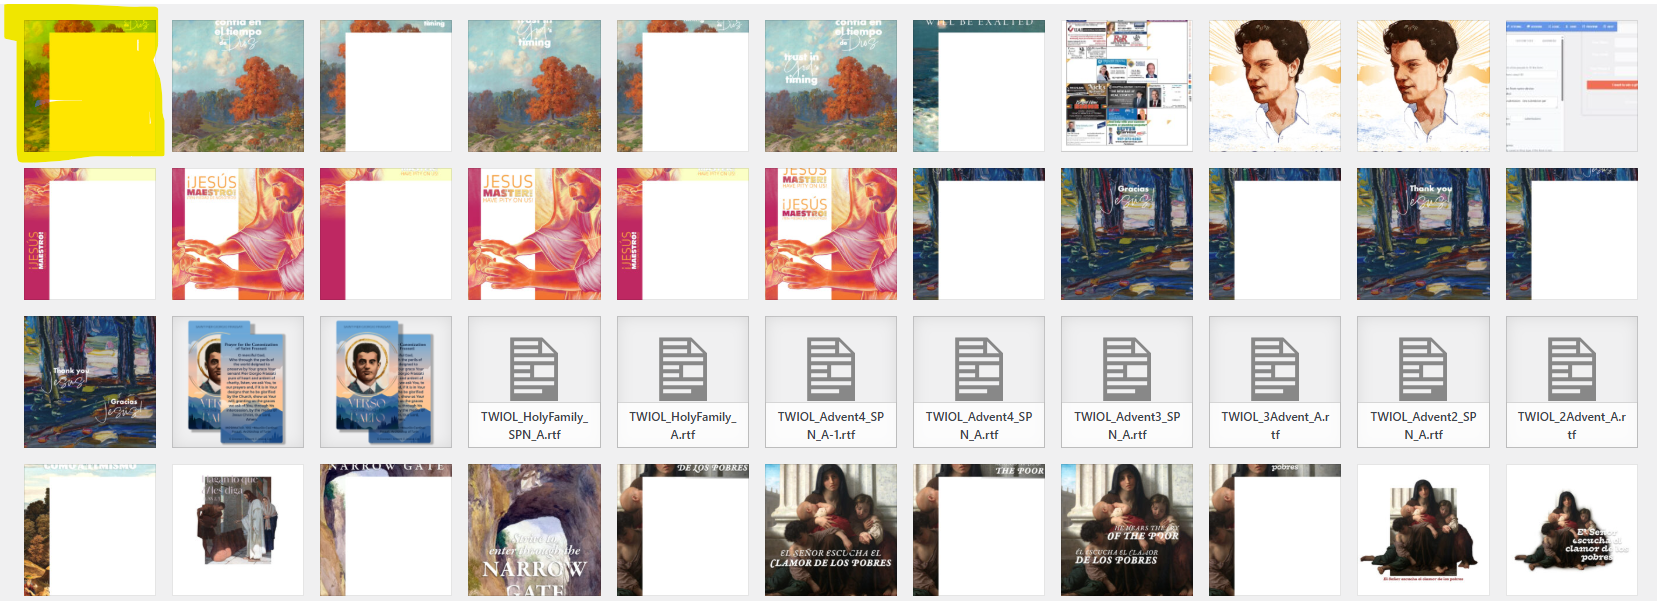
Once logged in, click on Media in the menu on the left-hand side of the Dashboard.
Click on the image file you would like to edit.
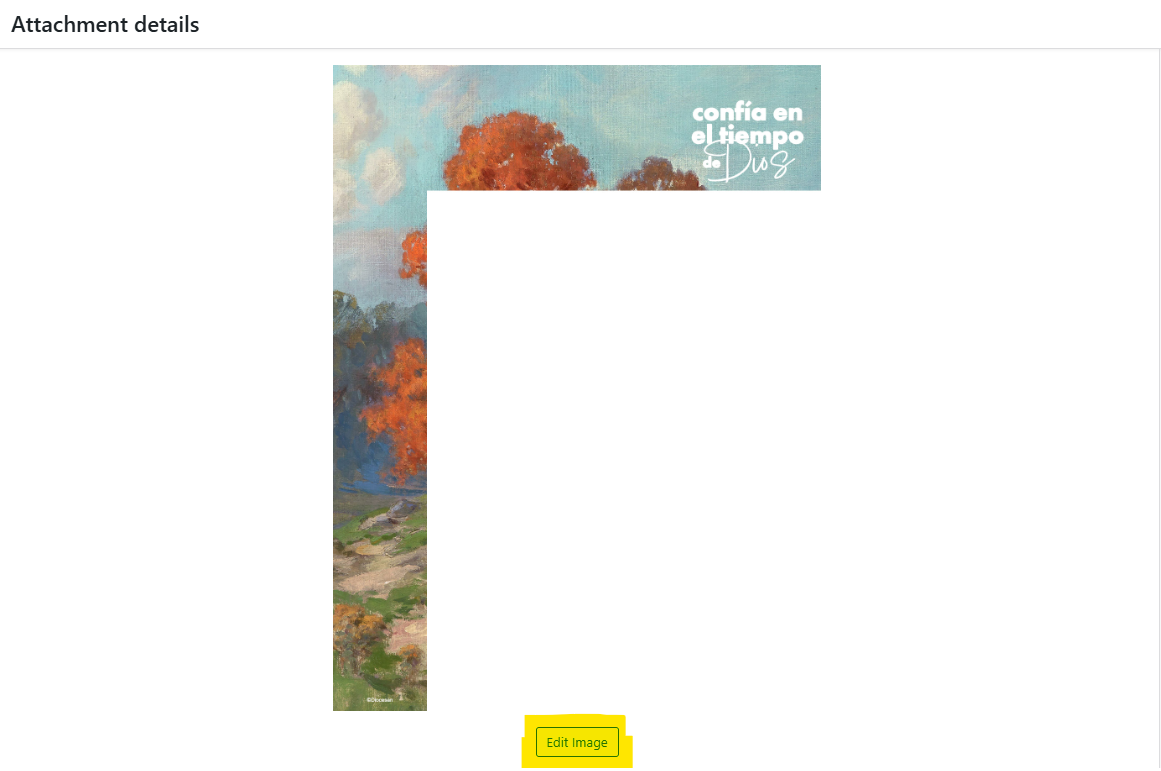
Click on the EditImage button below the image preview on the left. This will launch the image editor screen, giving you access to several useful image editing controls.
This will open up the image editor where you can rotate, flip, crop, or resize the image as needed.
To see how to crop, rotate, flip, scale, or restore the original image, click here.
Click SaveEdits to save your changes.
Once the edits have been saved, it will return you to the Attachment Details page. You may close out of this window by clicking the X in the top right corner.