How Do I Setup Form Confirmations?

Forms are very useful for your organization, acting as a way for the visitor to connect more with your organization and get them more involved. However, there is often a need for them to know that their information has been received. This is where Form Confirmations come in. It is a way for them to know that their information has been received after they have hit the submit button.
Here is how to setup form confirmations:
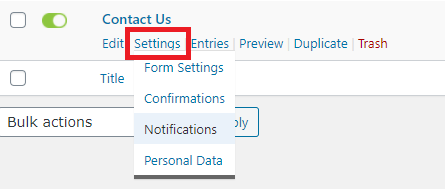
- Once logged in, click on Forms in the menu on the left-hand side of the Dashboard.
- Hover over the Form that you would like to change and then hover over the Settings option
- Click Confirmations from the dropdown
- There is a Default Confirmation that will be created when making a new form. You can edit this one or make a new Confirmation by clicking Add New
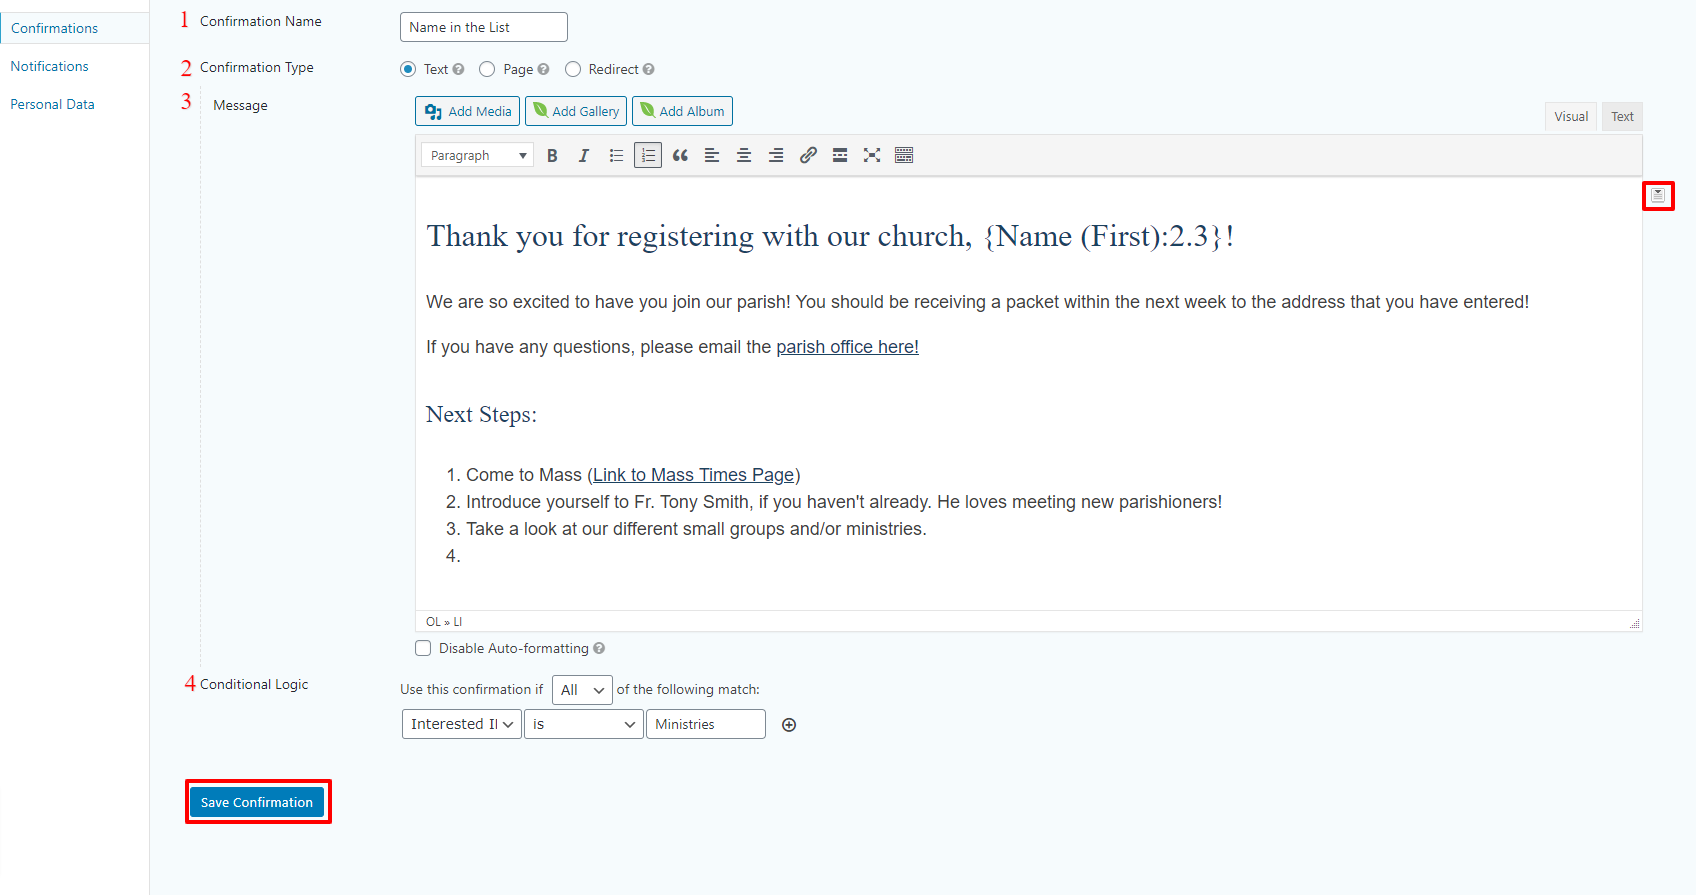
- When adding a new Confirmation here are the steps (Default Confirmation won’t have Confirmation Name nor Conditional Logic)
- Confirmation Name- What the name of the Confirmation will be in the list of Confirmations for this form
- Confirmation Type- Different ways of showing that the Form has been submitted.
- Text- Once the user hits the submit button, the Form will disappear and this text/content will appear in place of the Form, e.g. Links, list of next steps, media, etc.
Note: There is a small box on the right edge of the editor called Merge Tags where you can insert information that the user has entered in the form. Look for this icon: - Page- Once the user hits the submit button, the User will be directed to the page you specify here, e.g. Homepage
- Redirect- Once the user hits the submit button, the User will be directed to this URL you enter here, e.g. URL for the Online Giving portal
- Text- Once the user hits the submit button, the Form will disappear and this text/content will appear in place of the Form, e.g. Links, list of next steps, media, etc.
- Message / Page / Redirect URL (depending on choice from #2)
- Conditional Logic- Confirmations that are not the Default Confirmation need a condition or multiple conditions in which to show or occur. E.g. Use this confirmation if the Event is Parish Festival
- Once finished with the Confirmation setup, click the Save Confirmation button to save your changes.