Camino
Reports Walk Through
- Using the left menu, navigate to Reporting → Reports. The screen will show you all the various reports that already exist on Camino. To create a new report, click on the Add New Report button in the top right of your screen. Please note that changes on a report are not automatically saved.
- You will be taken to the Query tab of the new report that you are building. First, click on the dropdown under Report Type. For this walkthrough, we are going to be building a Newly Registered Parish Families Report. After clicking on the Report Type dropdown, scroll and select Households.
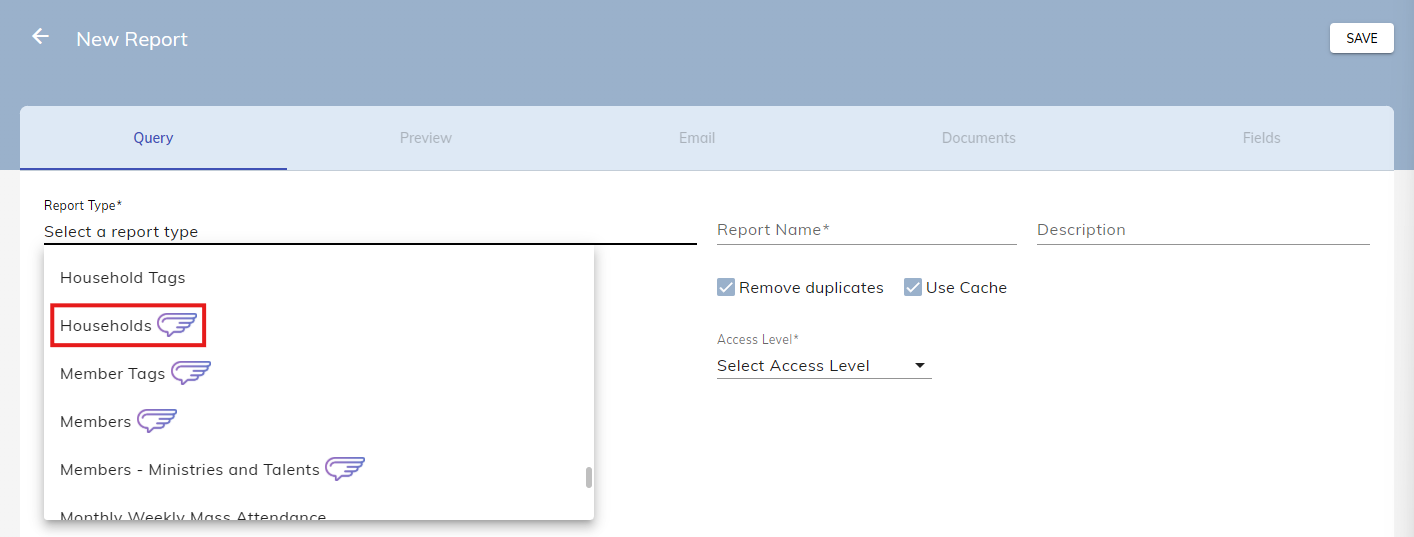
On Camino, there are various different reports that you can build. The most common Report Types are the following: Contributions by Household, Formation – Class Roster, Households, and Members.
After selecting a Report Type, the screen will update to show new options. On the left side are Fields and on the right side are Access Level, Criteria Filters, and Order By.
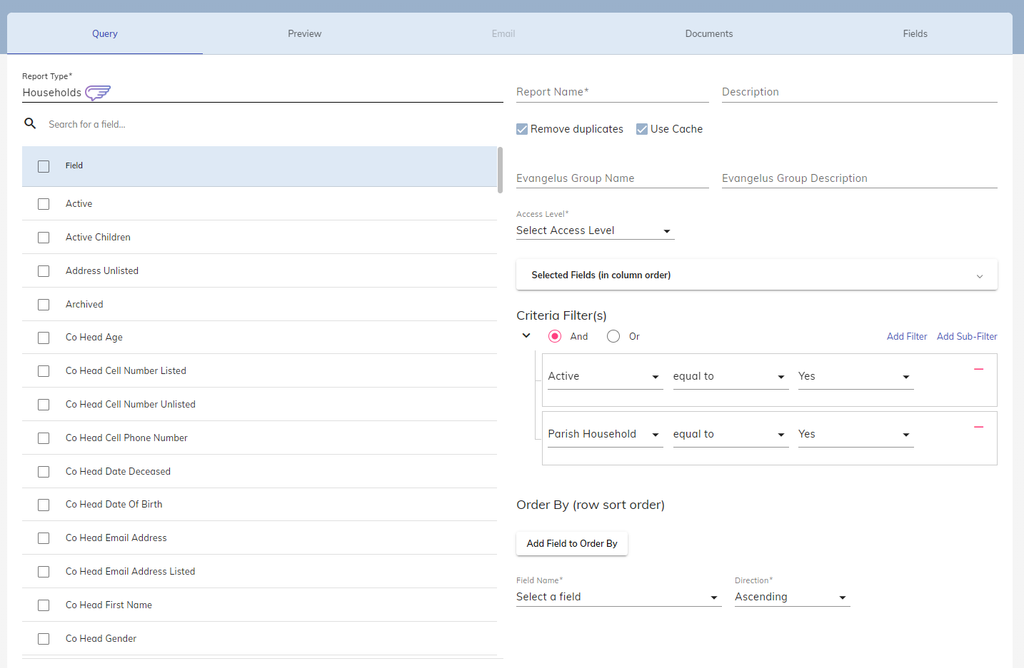
Fields: This determines the information that we want to pull in a report. By checking off various Fields from this left table, the report will pull that information.
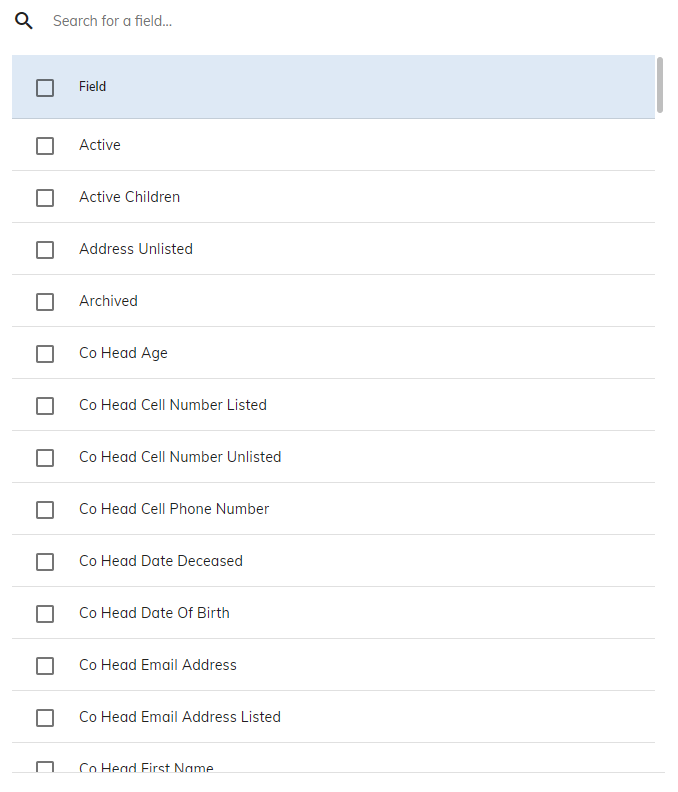
You can scroll through all of the different Fields that a report has to offer. However, this can be overwhelming as there are a lot of Fields to choose from.
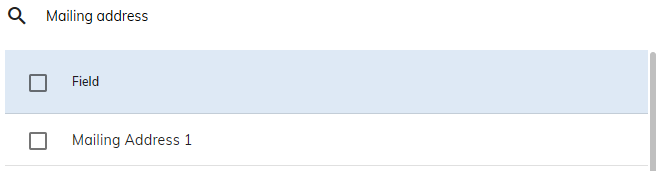
To mitigate this, you can search for specific Fields using the search area to the right of the magnifying glass. In this example, we will be searching for Date Registered, Household First Names, Last Name, and Mailing Address information.
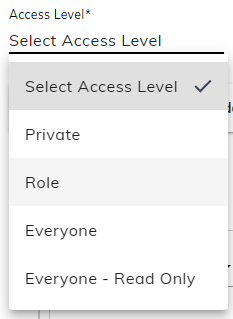
Access Level: This determines who can view and make changes to a report. There are four different access levels:
- Private: Only you have access to this report.
- Role: Only specified roles have access to this report.
- Everyone: Anyone can access this report. Most reports are set as Everyone.
- Everyone – Read Only: Anyone can access the report but only the person who created the report can make changes to it.
Criteria Filters: This allows you to narrow the group of people that your report is pulling in. Automatically, most of the time the report will be filtering for Active equal to Yes and Parish Household equal to Yes. The verbiage used is very direct, but what this means is that a report automatically grabs only those that are active parishioners in your database.
For this example, we want to grab our newly registered parishioners. More specifically, we want anyone that registered since the start of 2026.
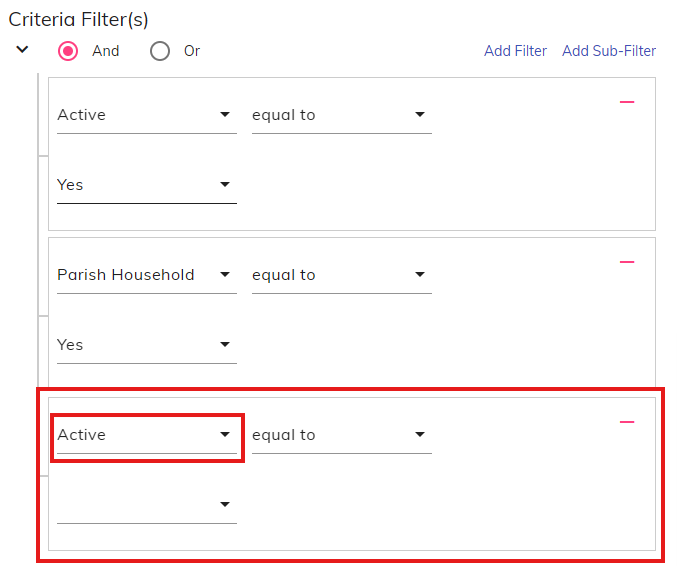
For this report, we need more filters than what has already been given to us. So we need to click the Add Filter button. This will add a new filter box that just says Active equals to _______.
On this new box, we want to click on the Active dropdown. This will allow us to search for the filter our report needs. In this case, we are looking for the Date Registered filter.
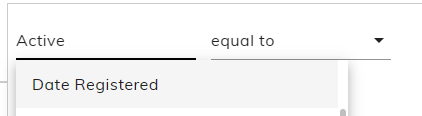
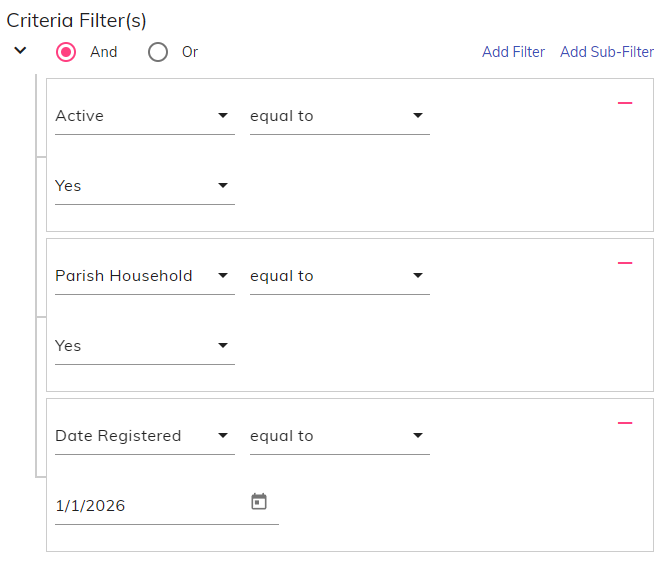
After selecting Date Registered as our filter, we still want to adjust the date range. So, we will click on the equal to drop down and change it to greater than or equal to.
Lastly, we will either type “1/1/2026” or select the Calendar Icon on the empty line to set our start date.
After doing this, our list of filters should appear as it does on the left.
If there are any filters that we want to remove, click on the red minus sign on the top right of the filter box.
Order By: This allows you to sort a report in a specific manner based on the Fields that you have selected for the report. For example, if we want to have our most recently added parishioners at the top, we will select the Field Name to be Date Registered and the Direction as Descending.
However, there may be multiple parishioners that registered on the same day and we want those to be sorted alphabetically.
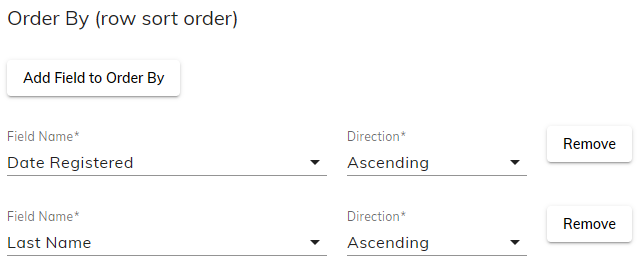
To do this, click on the Add Field to Order By button. This allows us to select another field to sort the report, and this time we can select Last Name.
Sorting works from a Top-Down process. In other words, the report will first sort our list by Date Registered then if there are any people who shares the same date, it will sort that group by Last Name.
After setting the Report Type, Fields, Access Level, Criteria Filters, and Order By of the report, we can then name the report Newly Registered Parish Families. When building a report, you do not have to go in the order as described in this guide, but all the aforementioned information is required prior to saving a report. Click on the Save button in the top right of your screen.
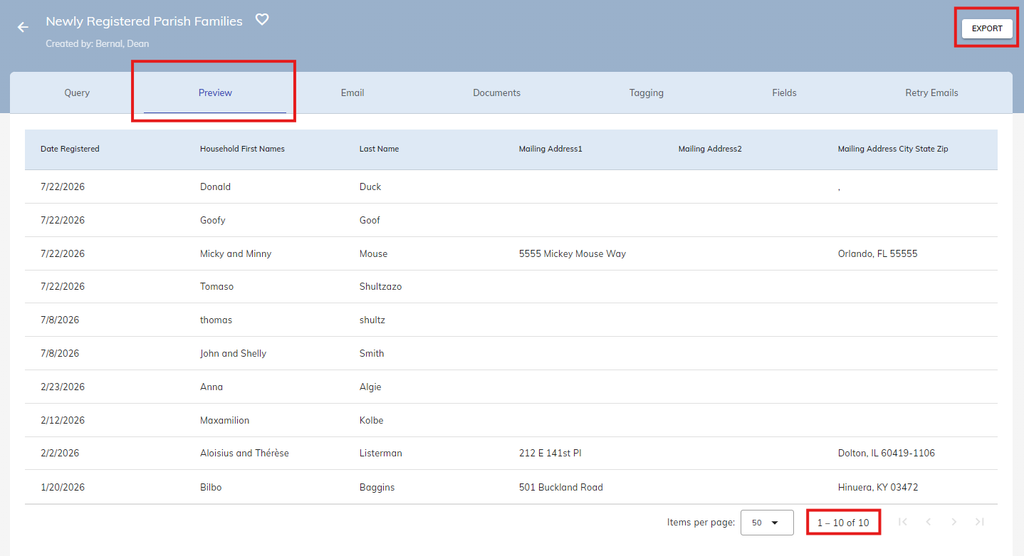
To view the results of your report, click on the Preview tab at the top left next to Query. In the bottom right of the Preview screen is the total number of results that the report pulls. In this case, there have been 10 families that have registered into the parish since January 1, 2026. We can then download a spreadsheet of results using the Export button in the top right!
Interested in how to upload your own Word Document to Camino to generate? Follow the Documents Walk Through here: https://diocesan.com/docs-camino/getting-started/documents-walk-through/